Introduction to MLCP Press Fittings
Multi-Layer Composite Pipe (MLCP) press fittings are widely used in both residential and commercial plumbing systems due to their ease of installation, durability, and corrosion resistance. They're designed to create strong, watertight seals using mechanical pressing tools. Despite their reliability, users sometimes encounter issues—many of which stem from incorrect handling or improper installation techniques.
This guide offers expert insight into recognising, fixing, and preventing common problems associated with MLCP press fittings.
Why MLCP Press Fittings Are Popular in Modern Plumbing
MLCP press fittings merge the flexibility of plastic with the strength of aluminium. This hybrid construction offers numerous benefits:
Reduced thermal expansion: Makes them ideal for hot water installations.
Ease of bending: Eliminates the need for multiple joints.
Smooth internal bore: Helps maintain water pressure and hygiene.
Yet, no system is flawless. Understanding how they work helps in diagnosing and resolving typical faults.
Common Installation Mistakes
Incorrect installation is the most common cause of failure in MLCP press fittings. Below are the frequent errors made and their consequences.
Misalignment of Pipe and Fitting
Improper alignment during pressing can result in a partial seal or pipe deformation. This often leads to:
Leaks under pressure
Increased strain on fittings
Potential damage to adjacent piping
To fix this, re-cut the pipe straight, ensure full insertion, and use the correct pressing tool.
Incomplete Pressing or Weak Joints
A joint that isn’t fully pressed can cause catastrophic failure. Always ensure:
Pressing tool is calibrated
Full press cycle is completed
Jaws are in proper condition
Replace any fittings with visible deformation or incomplete crimps.
Failure to Deburr the Pipe
Deburring smooths the cut pipe edge, allowing secure seating within the fitting. Skipping this step can:
Damage O-rings
Cause improper seating
Lead to internal turbulence
Use a manual or rotary deburring tool before inserting the pipe.
Recognising Signs of Faulty MLCP Fittings
Symptoms of issues may not always be immediate. Look for:
Damp patches on walls or ceilings
Reduced water pressure
Unusual sounds when water flows
Fittings with visible corrosion or damage
Early detection reduces the risk of structural damage and water waste.
Leak Detection Techniques
Use the following methods to identify problematic fittings:
Visual inspection under pressure
Infrared thermography for concealed leaks
Moisture meters in surrounding structures
Dye testing for pinpoint accuracy
Professional tools can significantly reduce troubleshooting time.
Tools Required for Repair and Maintenance
Before attempting any repair, ensure you have:
| Tool | Purpose |
|---|---|
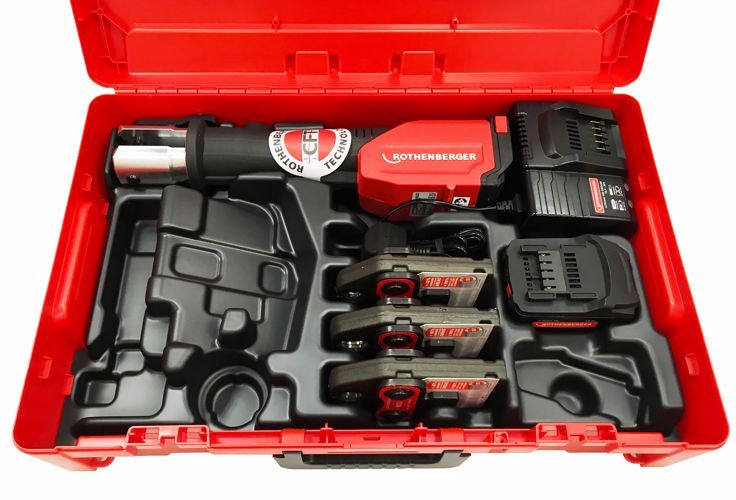
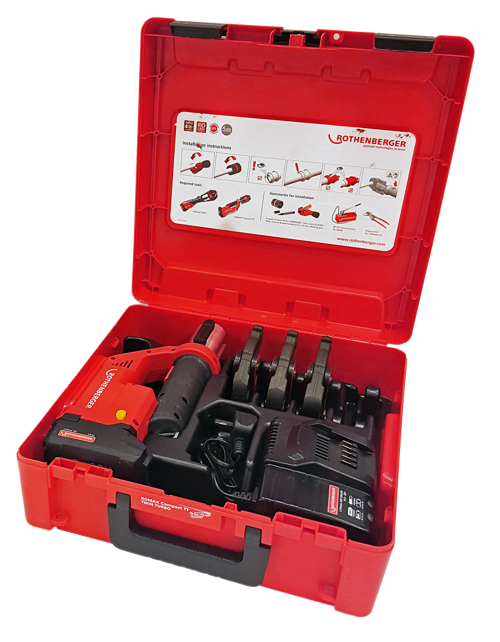
| Press tool | For forming watertight joints |
| Pipe cutter | Clean, square cuts |
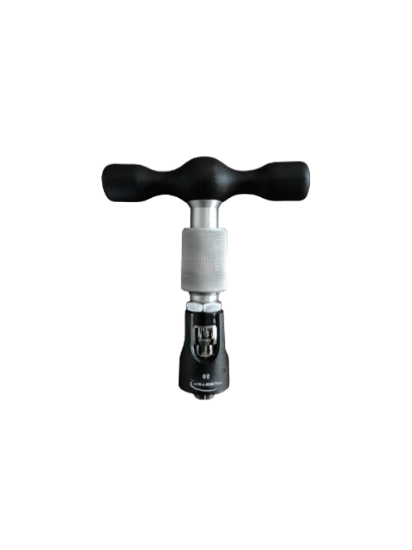
| Deburring tool | Smooths pipe edges |
| Marker | Mark insertion depth |
| Measuring tape | Accurate lengths |
| Leak detector spray | Identifies air/water leaks |
Quality tools are essential to ensure safe, lasting fixes.
Step-by-Step: How to Fix a Leaking Press Fitting
Isolating the Leak Source
Shut off the water supply.
Drain the system to relieve pressure.
Identify the faulty fitting visually or using leak detection tools.
Cutting and Repressing the Connection
Cut out the defective section using a pipe cutter.
Deburr the new pipe ends.
Mark insertion depth.
Insert pipe into a new fitting.
Use the press tool to secure the connection.
Restore the water supply and check for leaks.
This process ensures a permanent, reliable repair.
Preventative Measures to Avoid Future Issues
Always use manufacturer-approved tools and parts.
Follow the correct insertion depth.
Regularly service pressing equipment.
Train installers thoroughly on fitting procedures.
Record installation parameters for future reference.
Prevention is more cost-effective than repairs.
When to Replace Rather Than Repair
Some fittings cannot be salvaged:
Cracked pipes or fittings
Extensive corrosion
Repeated leakage at the same joint
Incompatibility with surrounding materials
In such cases, it’s better to replace the entire segment.
Safety Considerations and Legal Compliance
Always adhere to local building regulations. This includes:
Using approved materials
Ensuring fittings are certified
Documenting all work for inspection
Wearing protective equipment during repairs
Failure to comply may result in penalties or insurance issues.
Professional Tips from Licensed Plumbers
Plumbers recommend:
Press fittings over soldered joints for time efficiency
Using depth gauges for precision
Avoiding re-use of any press fittings
Double-checking pipe compatibility before pressing
These small steps greatly increase success rates.
Comparing MLCP Press Fittings with Other Plumbing Systems
| Feature | MLCP Press | Copper Soldered | PEX Crimp |
|---|---|---|---|
| Installation time | Short | Long | Short |
| Corrosion resistance | High | Low | High |
| Reusability | No | Limited | No |
| Leak probability | Low (if installed correctly) | Medium | Medium |
MLCP fittings provide a balanced option with excellent long-term reliability.
Maintenance Checklist for Long-Term Durability
Use this list during routine inspections:
Inspect all visible joints for signs of wear
Test water pressure monthly
Clean and service press tools annually
Replace fittings showing stress or movement
Keep installation records up to date
Preventative maintenance extends system lifespan.
Frequently Asked Questions
1. Can MLCP press fittings be reused?
No. Once pressed, they form a permanent seal and should not be reused.
2. How long do MLCP press fittings last?
They can last over 50 years if properly installed and maintained.
3. What causes leaks in MLCP systems?
Usually due to poor installation: incomplete pressing, improper alignment, or skipping deburring.
4. Are MLCP fittings safe for drinking water?
Yes, provided they meet local certification and standards.
5. Can I install MLCP press fittings myself?
You can, but professional installation is recommended to avoid costly errors.
6. How do I know if the joint is fully pressed?
A visual inspection should reveal a uniform, complete press with no deformation or gaps.
Conclusion
Fixing common issues with MLCP press fittings doesn’t have to be daunting. With the right knowledge, tools, and techniques, you can tackle most problems quickly and effectively. Whether you’re a DIY enthusiast or a seasoned plumber, applying these best practices ensures your plumbing system remains reliable for years to come.
Shop MLCP Press Fittings as PressIT
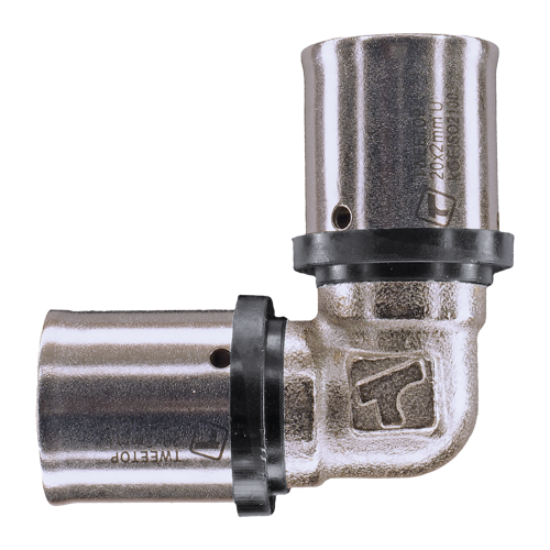
PressIT Heating/Water 90degrees Bend 16x16